Showing posts with label Joy of Scrappin'/Crafts. Show all posts

Thursday, April 28, 2016

Be A Star!


To finish up last school years 2014-15 bulletin board designs, here's what we created.  I now have someone on my team (another mom, yeah!) to help get them put up and come up with ideas.  This year was all about being on the RED CARPET and MOVIES!  Hope the ideas help you out.  


I put the first two boards on my blog earlier this year.  You can check them out on the sneak peak post HERE!


JANUARY / FEBRUARY / MARCH 

APRIL / MAY


For a recap, we did the following:

August/September --- Be A Star! (Curtain Call)

October/November/December --- Be A Star and POP into PTA!

January/February/March --- Lights, Camera, Action, Only 5 More Months to Be A Star and Join RV PTA!

April/May ---  Thank You For a Picture Perfect Year!

If you decide to do this theme for PTA or any other organization have fun with it!  It's an easy one to do.  


Happy Scrappin' Everyone!


Wednesday, April 8, 2015

Closet Make-Over

This was a project that I've been wanting to do for awhile now.  My husband really wasn't ready to take it on but my In-Laws were coming to town so I hit up my father-in-law.  He loves to work on projects and I had a couple in mind for him to choose from.   He chose the closet make-over project while they were staying with us.  His wife was at a conference for church all day for 2 days, my husband was at work so he was stuck with the kids and I.  He likes to be busy, check out the pictures below on what we did.

I also wanted to mention that I originally got this idea from Pinterest but gave my own twist and ideas to the project.  Here's are the pins and websites that I got the idea from.  They both have their own looks to them are wonderful as well.  Check them out here and here.

We started off by taking the ugly white doors off and measuring everything.  We drew up some blue prints and came up with a plan of attack.

Here are the pictures to show the work that was done and the wonderful outcome we had!  Thanks Norbert for helping me out.

Before the closet make-over.
What a scary mess!

Cleaning out the closet!
Yeah, the white doors are gone.

Time to paint.  Just a little back story on painting.  When we first moved into our house 5 years ago my husband painted all the rooms.  I decided I'd try and help him out and put a first coat on in the kids bathroom while he was at work one day.  Needless, to say it wasn't the best and he said, "What the heck did you do in here?"  After that I haven't painted until the closet update, and I think it turned out pretty darn good!

My father-in-law measuring and
cutting for the bench and top shelf.

Painting in progress!
Break time right now, got some good upper
arm workout in painting the top half.

Even one of my kiddos decided to
 help out with the painting.
Here's the finished mud room/closet.

Baskets - purchased from Michael's with 40% off coupons or they were already on sale.
Coat Hooks - found at Target.
Tan (Maple) 15 cube organizer/ shoe shelf on the right - already had from before if you look at the before picture.  (Got from Target a couple of years ago.)
Dark brown (Espresso) 15 cube organizer $29.95 - Target and Wal-Mart no longer had anything to go with the one I had prior.  Ended up getting the Espresso one and the two organizers on the left as well from go organize.com ~ check them out HERE!
Upper shelf and bench with dividers - bought the wood at Lowe's with my father-in-law.  He sanded it down measured and cut it to size for me.  I ended up staining it with some stain we already had and I think it turned out great.  

I have to say, I think the dark and light browns go great together and look really rich and warm.  Very welcoming when coming into the house.  
  

Here's what it looks like now with stuff in it.
No more closet doors to shut and hide all the crap
so it stays pretty clean most of the time.

Sunday, February 1, 2015

SNEAK PEAK!

Joy's of Scrapbooking ~ this is still the only scrapbooking I'm getting done in this area of my life right now, is my bulletin board up at the school.  I will admit I did get on the Picaboo online scrapbooking website the other day and I got several pages put together (appox. 10) in my sons scrapbook from 2010, UGH!  Need to get back on it and get this particular book done. It's amazing how many pages you can whip out in a short amount of time if you just do it.  

Here's a little sneak peak into what my PTA bulletin boards look like so far this year.  Can you guess what our theme might be just by what I've said so far???  Hmm, could it be something to do with the movies?  Our theme this year is BE A STAR! 

August / September

October /November & December
December should have been a new board, my bad!


On my bulletin boards I don't like to write things out as my handwriting isn't the best.  I stick to using the computer with fun fonts and printing them, then back them with color coordinated paper. I purchased all my borders & supplies this year from School Supply Giant as they had the best prices.  
SchoolSupplyGiant.com


I just did the January bulletin board the other day and forgot to take pictures.  You'll have to wait unitl the end of the school year to see what I come up with for the rest of the year.  I try to do them every other month but the 2nd one was up a little longer than planned.  Happy Scrappin'!!!

#bulletinboards #scrappin' #beastar


Saturday, May 24, 2014

We Love Our Teachers & Staff ~

Teacher/Staff Appreciation Week Ideas ~

Teacher/Staff Appreciation week was a big hit this year.  Our theme - Get Ready for Summer!

Our PTA provided several meals and snack days for the T/S and fun gifts each day.  We also had a basket giveaway for each day as well (oops, no pic of this).

     Breakfast is served!
     Everyday you make a difference!
     All about you!
     Chair massage!
     Happy Friday!

I printed off each letter saying and had them in the T/S lounge on the cabinets, along with a lot of other Hawaiian decorations that we put up.  Darn it, no picture of this either and it was two other parents and myself decorating the room ( I there, so no excuse not to take some pics of our hard work).

Daily gifts given to all teachers/staff each day:

I did this part at home, so I made sure I got my pictures of all the little gifts. Can't wait for next year and what we have in store for our teachers/staff.  I'll make sure to get pictures of everything next year, hopefully!


All the daily gifts, except the chap stick!

Have a BALL this summer!


Variety pack beach balls from Oriental Trading.


Thanks for taking care of our little DUCKIES!

Hula duckies!
Mermaid duckies!
Surfing duckies!
Lifeguard duckies!

Variety pack duckies from Oriental Trading as well.


Thank you for all the EXTRA 
work you do!


HANDS down you're the best teacher/staff in town!


Have a CHAPPY fun summer!

Chap sticks from AVON!
       Monday - Breakfast is served!
       We will be providing you with a hot breakfast and coffee        
       to start your day off right!

       Tuesday - Everyday you make a difference!
And we want to make a difference in your day by providing a catered salad bar luncheon! Leave those lunch boxes at home for this one. 
Wednesday - All about you! 
We want to make this day your best by providing Sonic drinks and a sub sandwich lunch. (Be sure and get your Sonic drink order on the Google doc in the office before Friday, so we can get your order right!)
Thursday - Chair Massage and Snack Cart
Sign-up for a 10 min chair massage with a licensed massage therapist between 11-1. The office should have the sign-up sheet soon! 
And your afternoon will be uplifted by the popular snack cart making it's rounds!
Friday - Happy Friday!
Who doesn't love to end the week with a BBQ lunch. We will be grilling out hamburgers and hot dogs all morning to have them ready for your lunch hour along with some yummy sides and desserts! 

Sunday, May 18, 2014

2013-14 PTA Team News Bulletin Boards

 This year our PTA theme was JOIN THE TEAM!  I stuck to the sports theme and put up various boards with different sports.

Here are the ones I did, and others I wanted to do.  I only do the boards every other month, as I don't have time to do it every month.  I wish I could do all these fun board ideas, but just don't have the time to get them all up.  The months seem to fly by faster and faster each year.


AUG/SEPTSoccer -  Join the team and kick a goal!
(FALL)
OCT/NOVBasketball -  Join the team and shoot the hoop!
(WINTER) Get in the game and join the team!
Winter Wonderland of SPORTS!
DEC/JANFootball -  Join the team and catch a pass!
(WINTER) Join the team and march on in!
Kick off a great year by joining the team!
FEB/MARBaseball -  Join the team and hit a home run!
(SPRING) Join the team and be an ALL STAR!
APRILSwimming -  Join the team and swim to the end!
MAYRunning –  Join the team and I'll meet you at the finish line!


There should be one more board here, but can't seem to find the picture, which is driving me nuts!  If I happen to find it I'll post it later.  


December/January board -
KICK A GOAL & JOIN THE TEAM!
Thanks to our Art teacher for drawing the football 
& soccer goal for me.

February/March board - SLIDE INTO PTA!

April board (Not my favorite board, but quick and easy to put up)
 - We Are A TEAM!
We've got Spirit
How bout' you?
We've got Spirit,
YES, we do!

May board - Had to get on more board done for the year.
Summers almost here, Join the RV PTA Team
& Swim to the end!

Monday, April 14, 2014

What to do with old Christmas pictures?

Got this clever idea from Pinterest!  Here's my creation.  Took the cover of one of the cards and put a title on it.  Then 2 hole punched the pictures and put together with clips. Enjoy!    

I've been wanting to do this for a while and finally got it done, under W-Day #26. Check out Joyous Junk!

Supplies needed:
Old Christmas card pictures
punch
2 clips (I need to go buy or find some laying around my house.  This is all I have right now that I can find. But it's basically done, YEAH!)

Directions:
1.  I sorted my pictures out by out by horizontal and vertical.
2.  Then I cut them down if they were to big to fit behind the cover page.  8" wide was the max. for this booklet I made.  
3.  Punch the 2 cover holes, and then the pictures with them behind the cover so you get them in the right spot.
4.  Put together by size, horizontal/vertical order and put clips through each pile. TA, DA!!!

Finished project, almost!  (Ugh, need another clip.)

Supplies needed ~ 
     Paper punch 
     2 clips (as you can see I'm short one, need to find another one or go to the store.)
     Cover - Christmas card, this one used to have a picture where the words are at.  That picture is now                       behind the cover with the rest of them.
      Pictures 


Monday, April 7, 2014

Honey Do Project - Dresser Reveal!

Well, awhile back I purchased an old dresser off of Facebook Swap and Shop.  Got it for only $20.00 with the plan to spruce it up and make it new again.  My daughter that I got this for, currently has two plastic Sterilite storage bins in her room serving as her dressers. Thank goodness my husband jumped on the band wagon and took this project on.  It probably wouldn't be done yet, if I was doing it. It ended up being a bigger project than what I had in mind.  Plus, he wanted his garage back, so the dresser needed to get done.

Here are some pictures of the dresser.  We used up some old paint we had sitting around, that we used in other rooms of our house. The pink stripes match her bedroom walls and the bright green is an accent color we are using in her room.
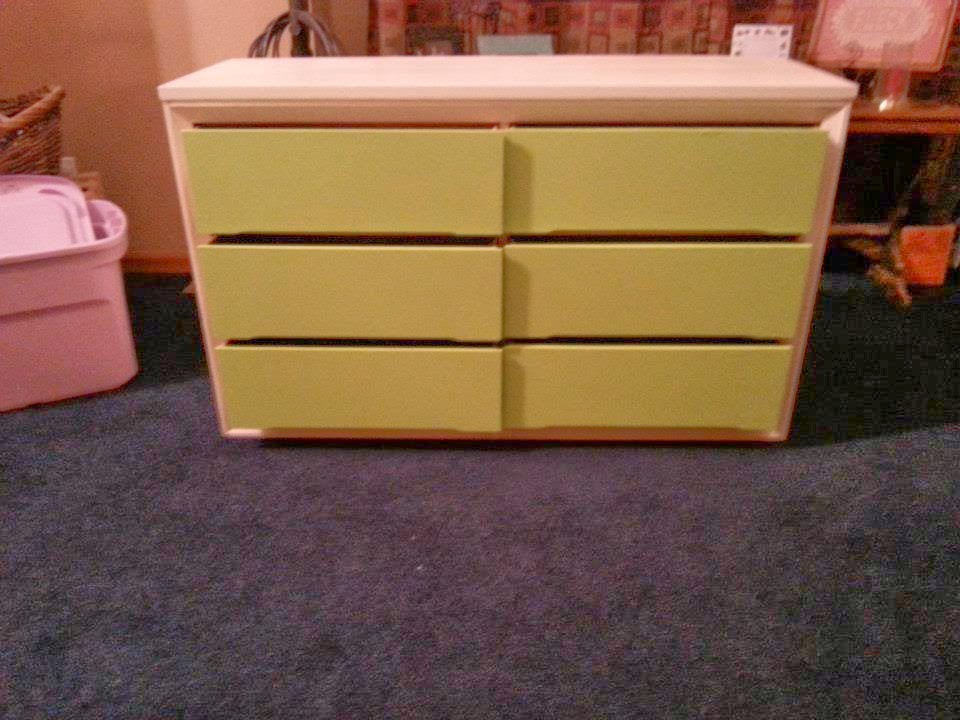
Dresser is done!
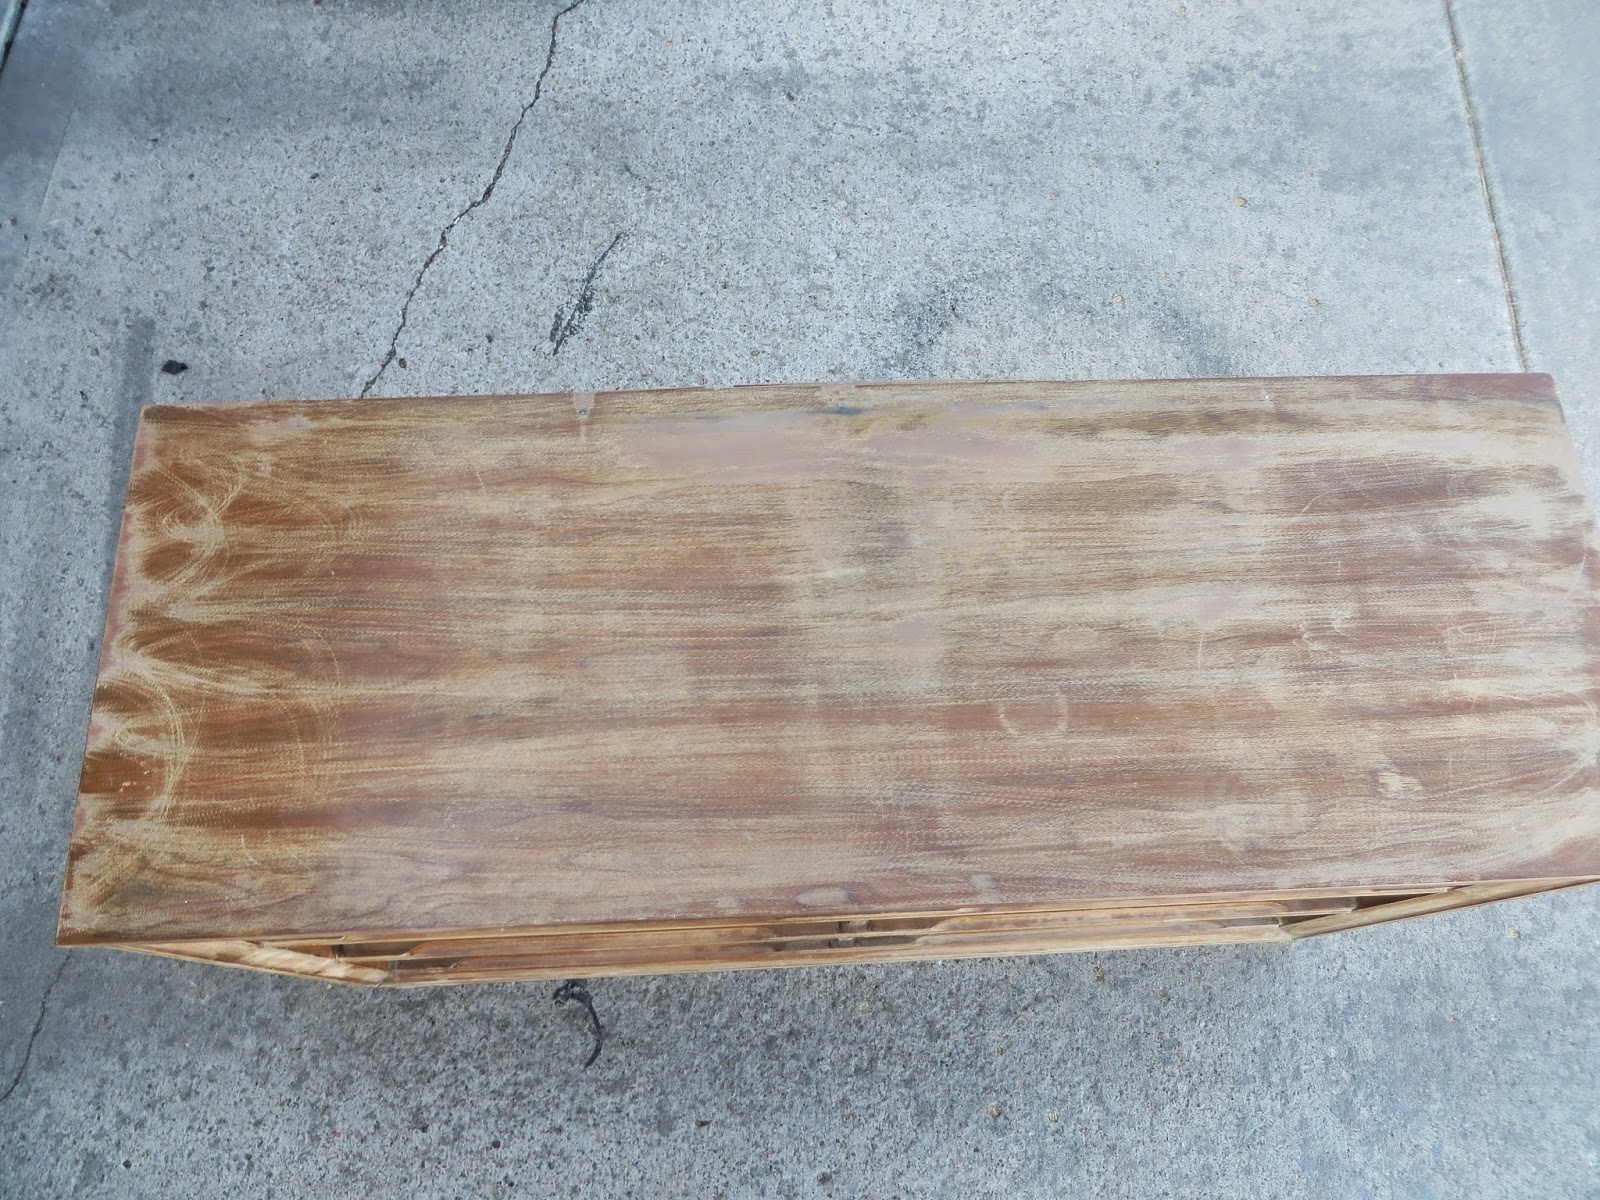
Here's what we started with.
This is after the 2nd sanding with 180 grit paper, to make it nice and smooth.  I think my husband started with 80 grits to get the stain to come off.   Didn't worry about getting all the stain off as he is primimg and painting it.
Sanding information click here or here, more sanding info!
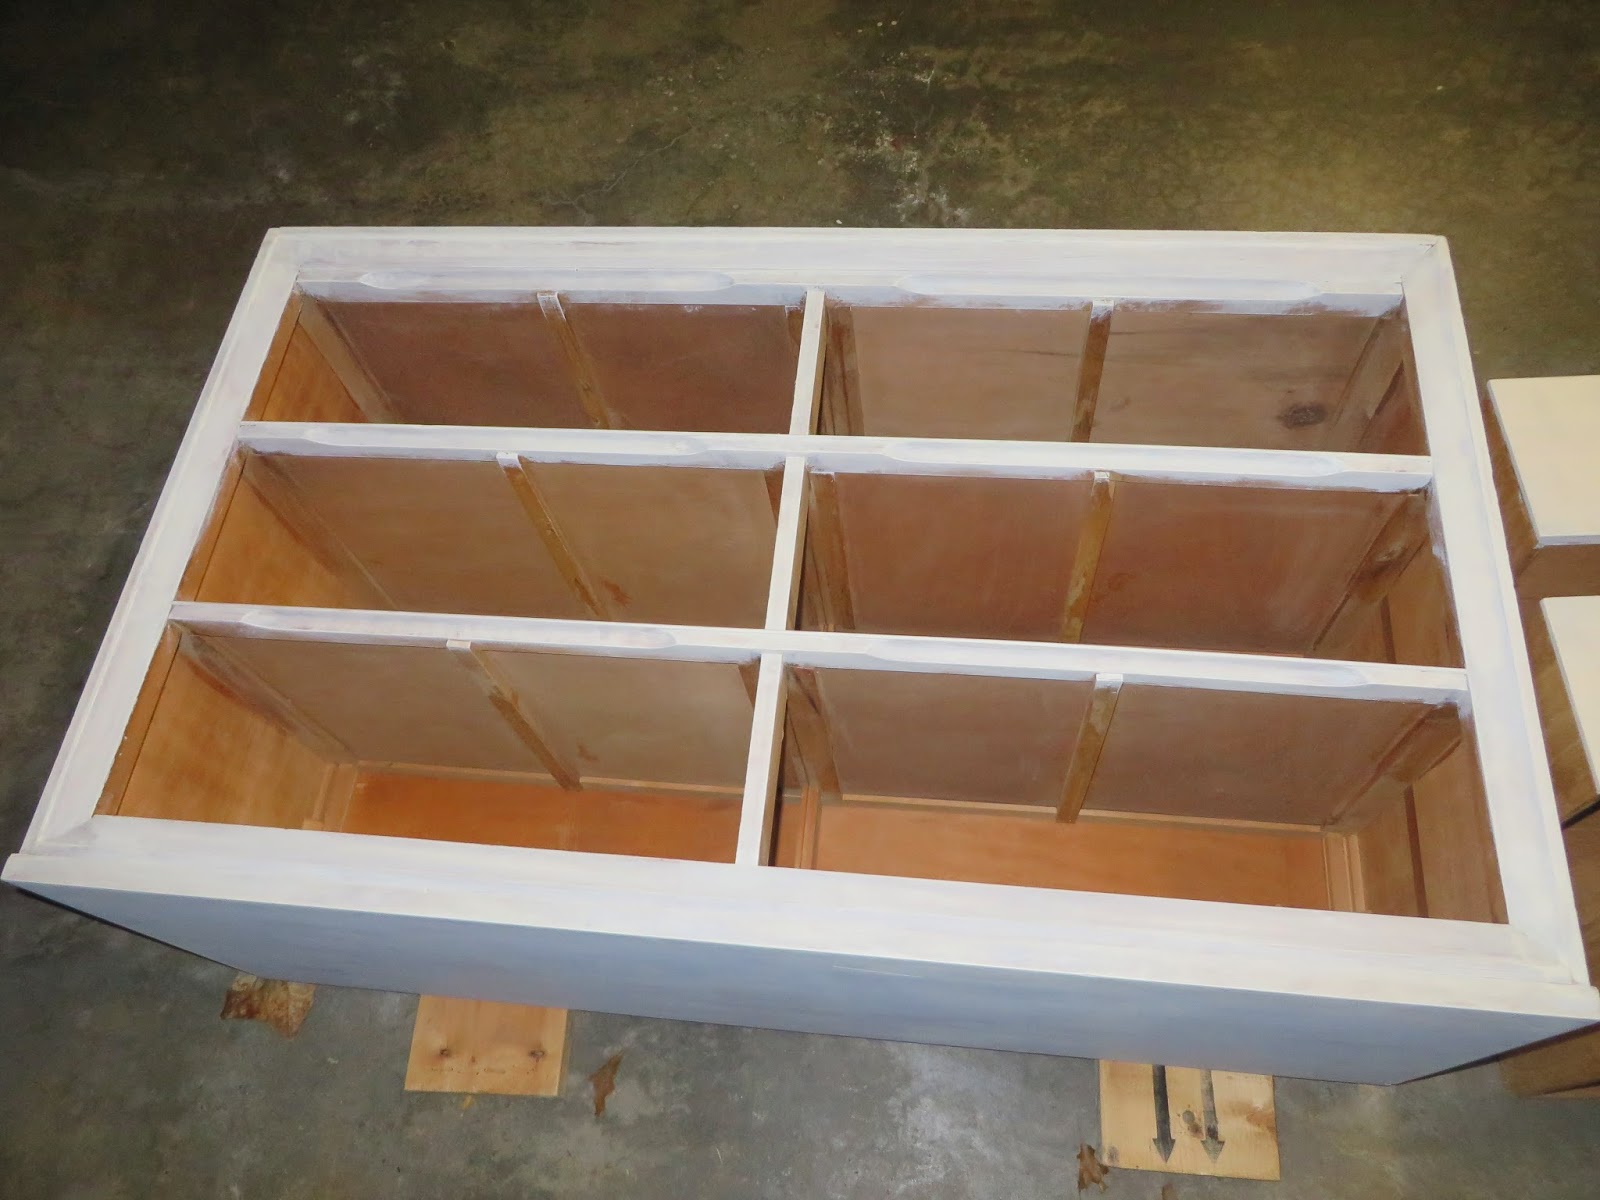
Dresser is primed.
Drawers are primed.
Painted white and lime green. 

Pink stripes were added to match the walls.  He used painters tape to make the lines nice and straight.  Last step, was spraying it with a satin polyurethane spray to protect it and give it some shine.  Good job darling!


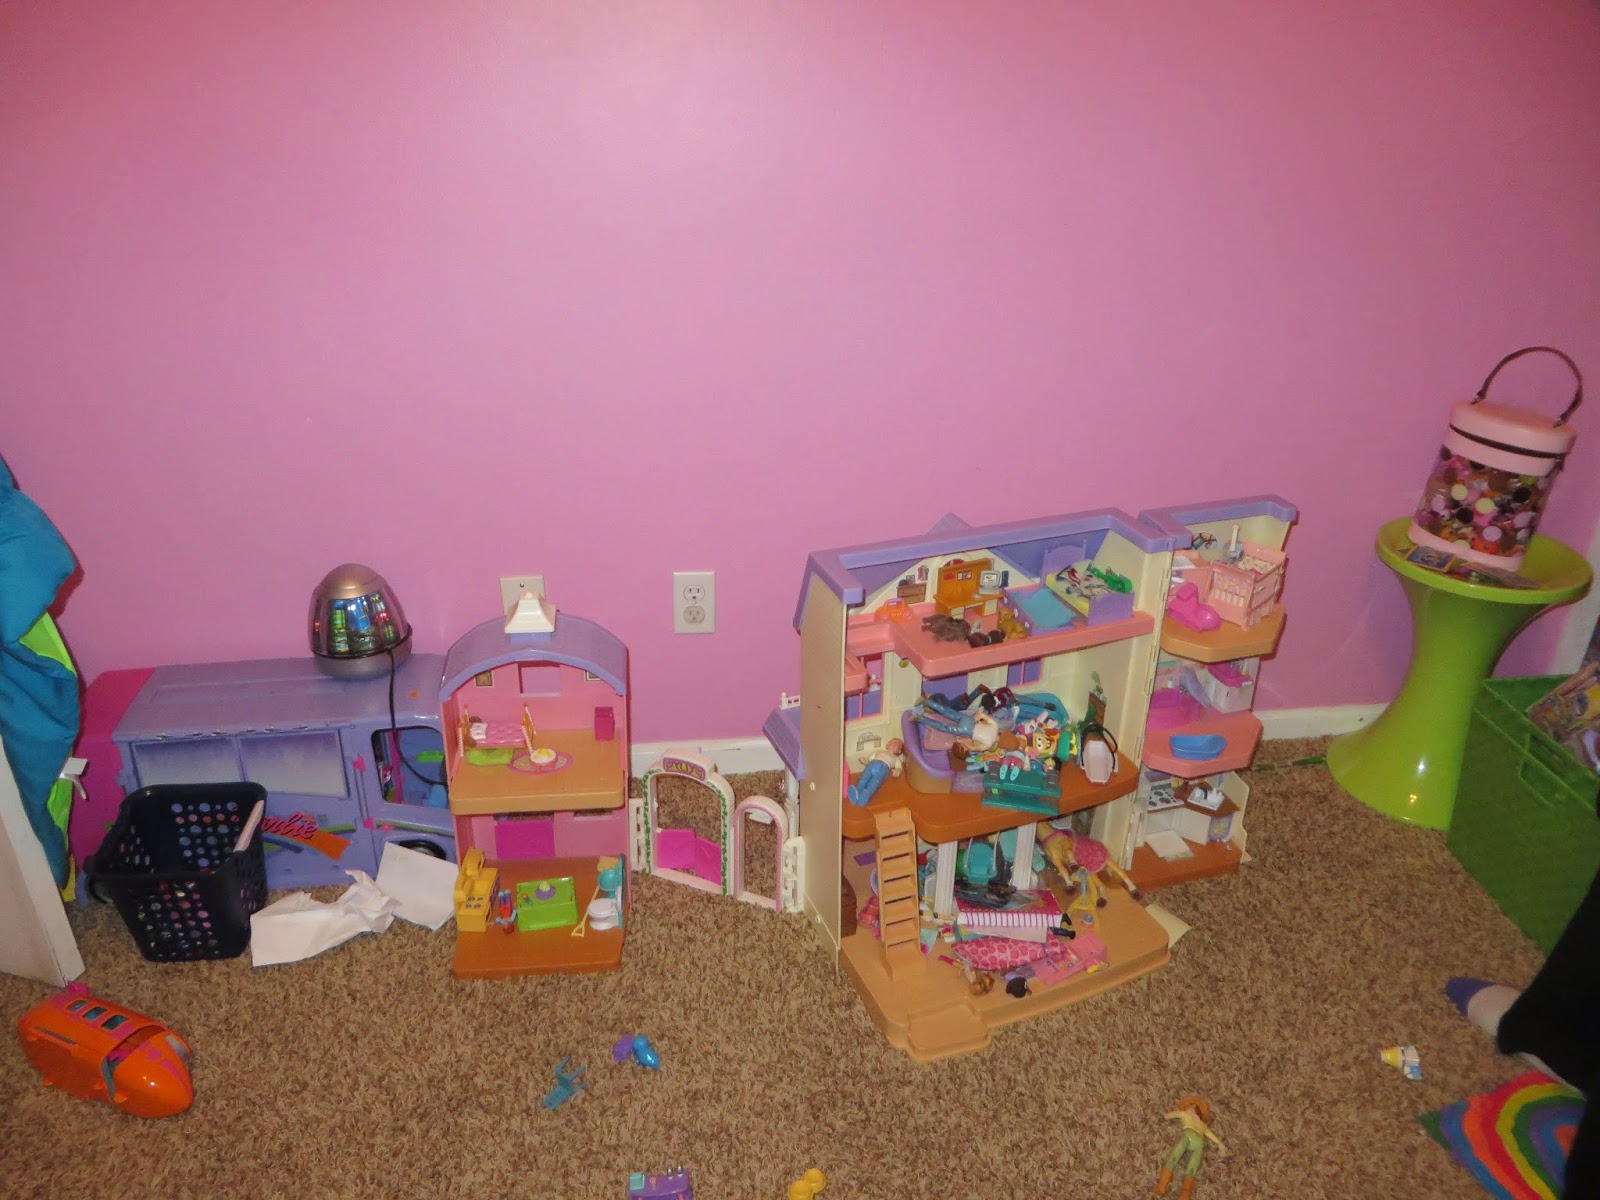
Now it's time for Mom to step in and work her magic and organize the room.  Here's where the dresser is sitting at now.   This is now where the two Sterilite storage bins used to be. 

New home for this bin.  Cleaned it out for better storage/organization of stuff in my daughters room.

This is now in the closet.
The final reveal with cute baskets on top!


Sunday, March 23, 2014

New home for this decor!

Putting home décor to better use.  Here's what I had before the change.  Both of these stands were sitting behind my sink in the kitchen.  The one to the left is going to be put to better use!


Only one stand in the kitchen now.  
That looks so much better, if I do say so myself.


This stand is now in our beach theme bathroom.  
Look at the difference of usage.


The bottom bowl has sample shampoo, lotions etc. for when we have guests.   I even put in child safety siccsors to open up some of the samples.  
The middle section has a plate on it with washclothes.

The top has a bowl again, with a fishbowl in it that has seashells and a jar with a candle and sand in the center.  


From kitchen to bathroom ~
Wow, that 3 tier stand, looks so much better.  

I got this fabulous idea from pinterest at blissfullydomestic.  Check out what they did with their stand as well.  Plus, I combined it with this idea from pinterest as well, check it out here from Darlingstuff.net